
Newsletter | May 2026
What’s On This Month
Key Dates
4th-10th May | National Family Day Care Week
10th May | Mother’s Day
26th May | National Sorry Day
27th May | Simultaneous Story Time
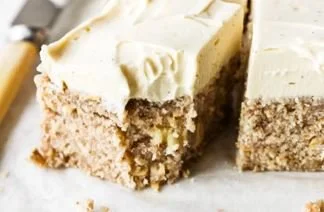
Banana Bars
Recipe | No Bake Banana Bars
Prep Time: 20 mins
Chill Time: 10 mins
Serves: 16-20
Ingredients
3 cups (330 grams) coconut flour
1 cup (90 grams) rolled traditional oats
1/4 cup (40 grams) brown sugar (optional)
1 teaspoon cinnamon, ground
pinch of salt
1/2 cup (125 ml) tahini
400 ml can coconut milk
1 cup (250 ml) pure maple syrup
3 bananas, mashed
1 tablespoon vanilla bean paste (or extract)
Cream Cheese Frosting (optional):
250 grams cream cheese
1/4 cup (60 ml) coconut oil, melted
1/4 cup (60 ml) pure maple syrup
1 teaspoon vanilla bean paste (or extract)
Method
Line a square 20 cm x 20 cm tin with baking paper.
Place coconut flour, oats, brown sugar, cinnamon and salt into a bowl and whisk to combine. Set aside.
Place the tahini, coconut milk and maple syrup into a saucepan over low-medium heat.
Cook for 2-3 minute (stirring continuously) until warmed and melted together.
Add the mashed banana and vanilla to the saucepan, stir to combine.
Pour the wet ingredients into the dry and stir to combine.
Press mixture into prepared pan and smooth.
Chill in the fridge for 10 minutes whilst you prepare the frosting.
To make the cream cheese frosting:
Place the cream cheese, coconut oil, maple syrup and vanilla into the bowl of a food processor, blitz for 1-2 minutes (scraping down the sides of the bowl, as necessary) or until the frosting is luscious and creamy. Spread frosting over the chilled bars. Return bars to the fridge for 4-5 hours or until firm. Cut into 12-16 bars.
Enjoy x
Find this recipe and more at ‘My lovely lunchbox'
Send Us feedback
Want to have your say and improve our services?
Email us at contact@kidsfamilydaycare.com
Sustainability
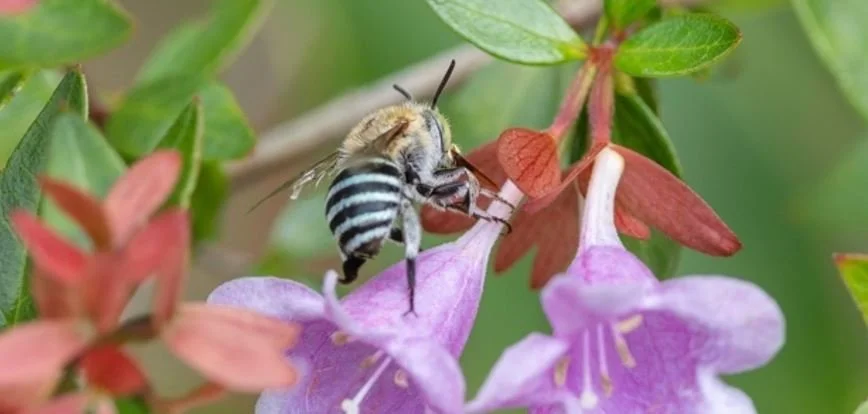
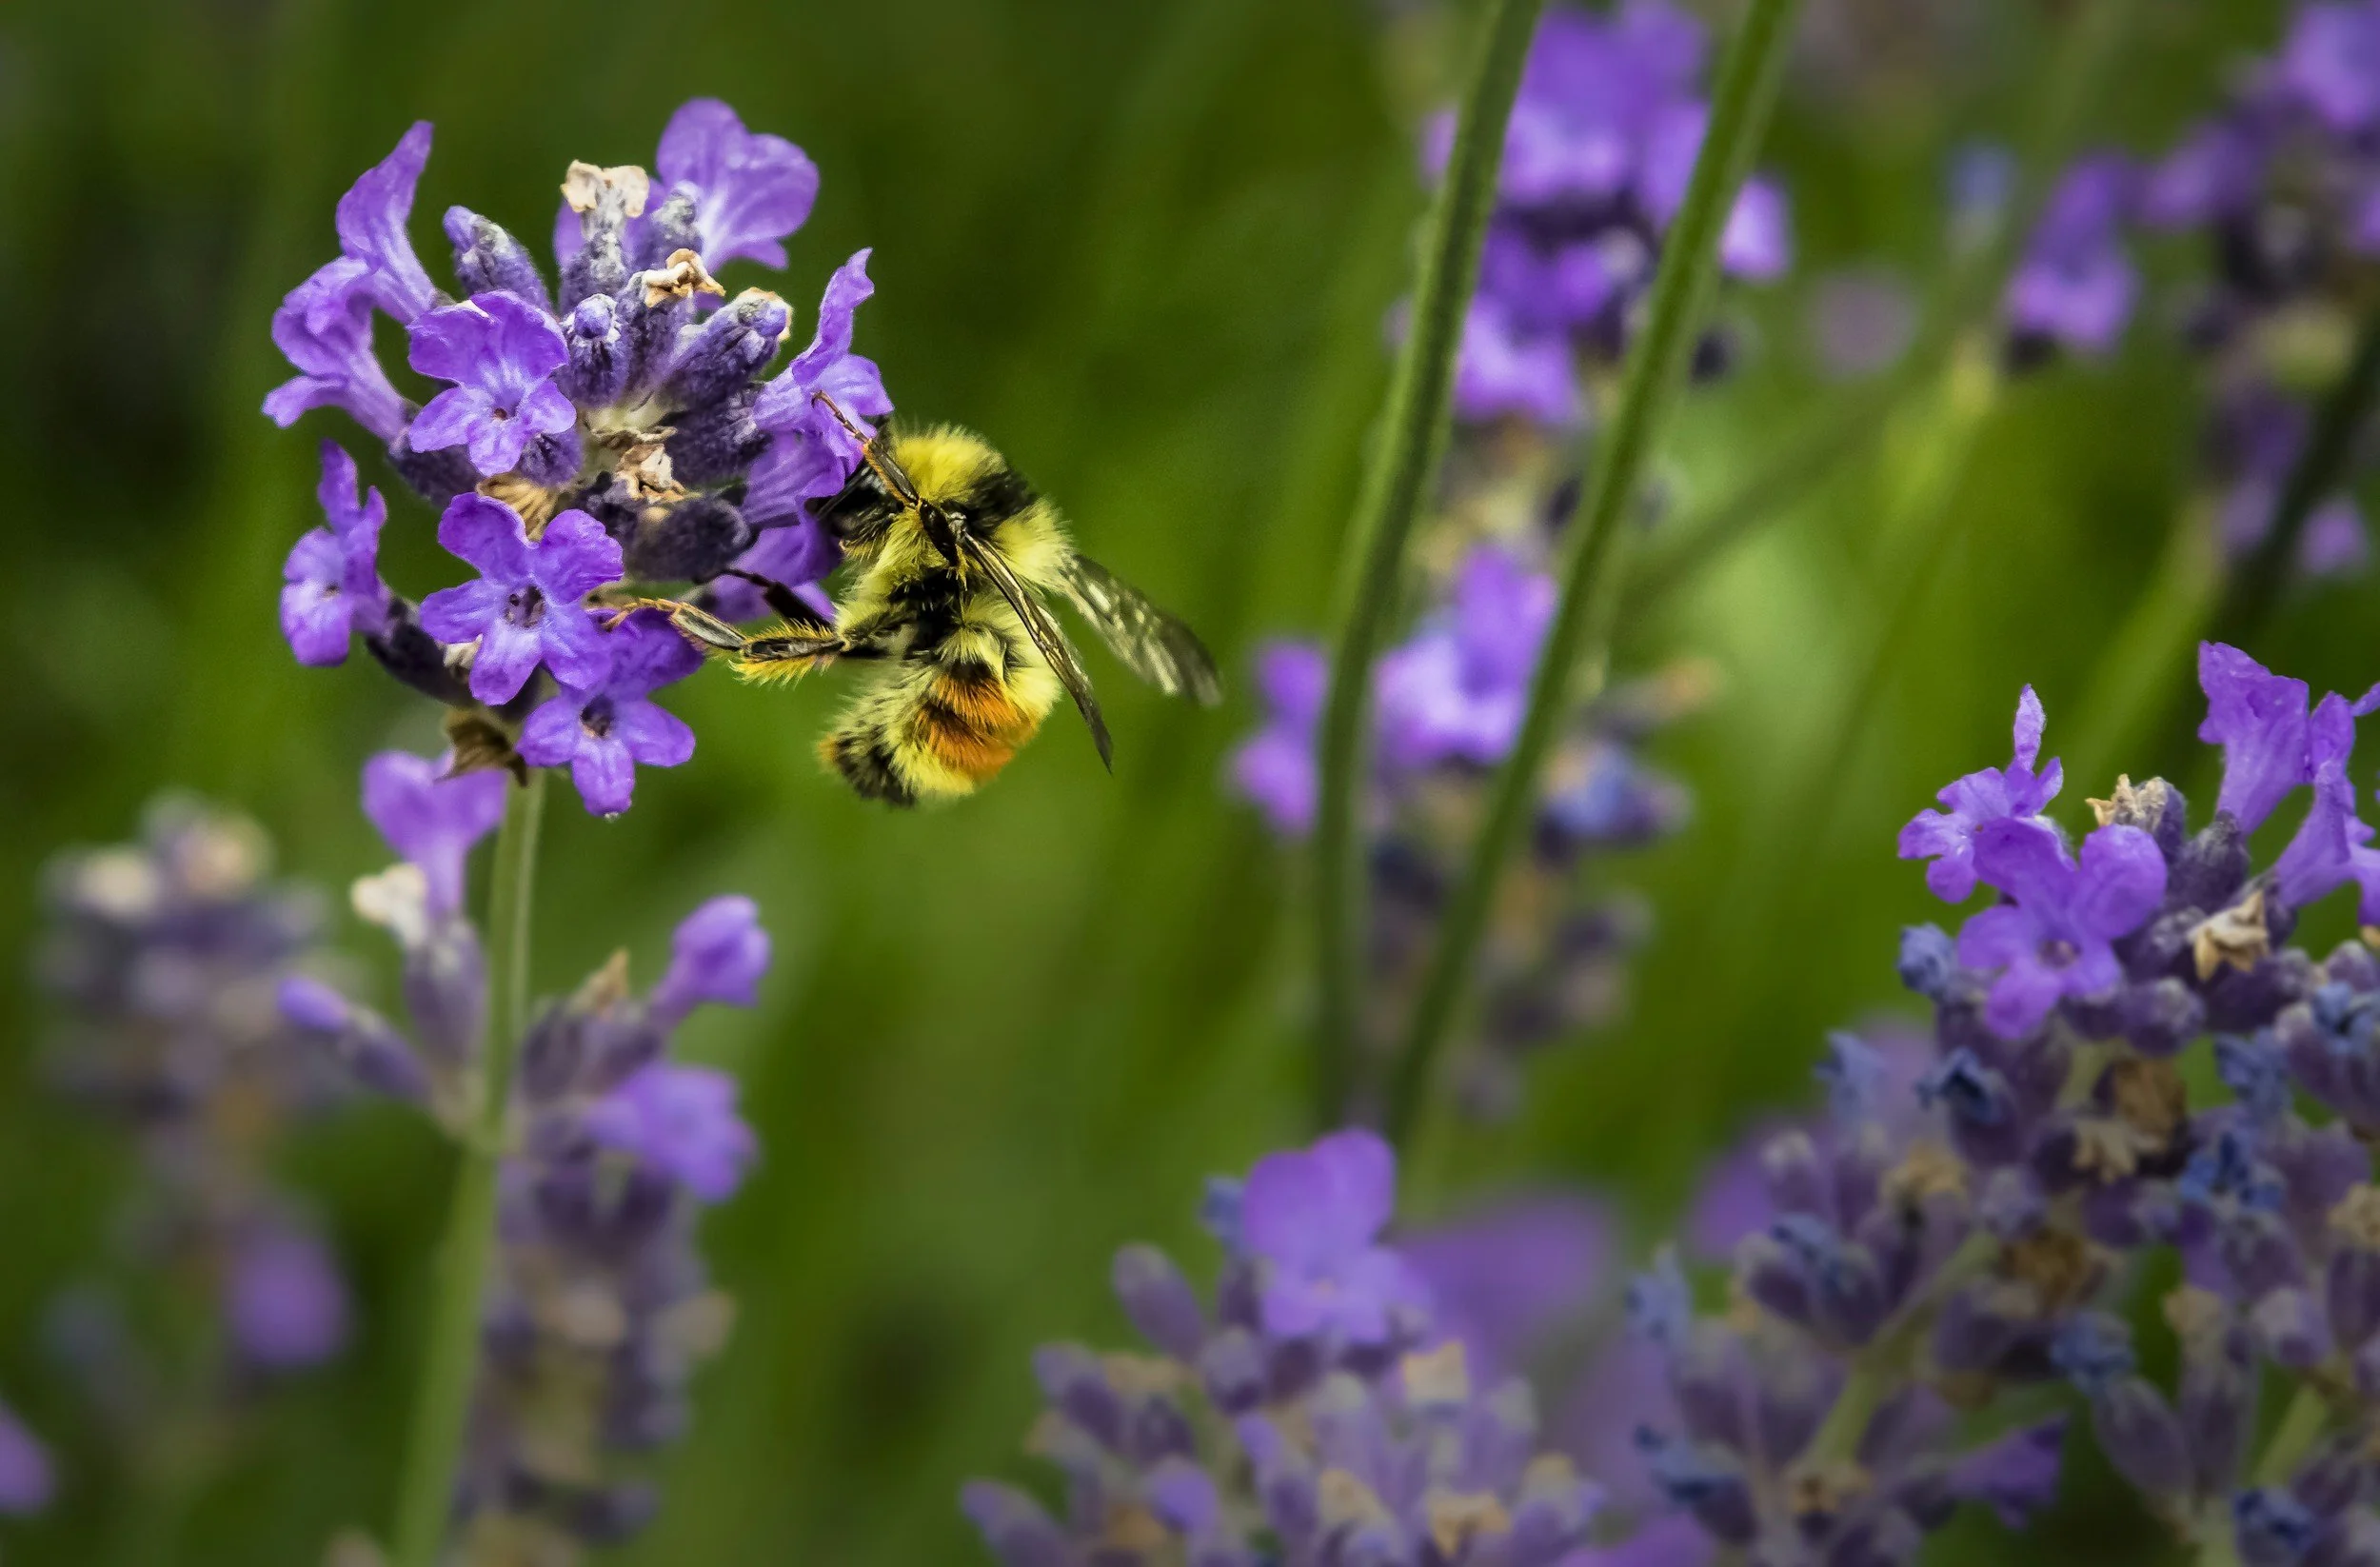
Bee Garden
HOW TO ATTRACT AND SUPPORT NATIVE BEES IN YOUR GARDEN
Encourage native bees to visit your garden by taking these simple steps. Your plants will thank you for it.
If you’re wondering whether it’s sensible to entice native bees to your garden, there’s one thing we need to get straight: native bees generally don’t sting. (Though we don’t recommend you test the theory).
There are 1650 Australian native bee species. Native bees play an important role in the environment. You probably know that honey bees help pollinate our plants but did you know that there are some native plants that they can’t pollinate? This is where native bees come in. Many of our native bees are able to buzz pollinate, which honey bees can’t do, and it’s this type of pollination that’s required by some of our native plants. Buzz pollination basically involves creating a vibration in the flower of the plant so that it will release its pollen. The blue-banded bee is one of these buzz pollinators.
Attract native bees by:
Choose flowers that native bees would choose.
Native bees prefer native plants.
Don’t use insecticides
Give native bees somewhere to live. Some native bees like to make their homes in the ground, that’s right, some bees burrow! and others live in wood or crevices between rocks. To appeal to those that live in soil, leave some bare ground. That means leaving some areas with no mulch.
You could even build a bee hotel.
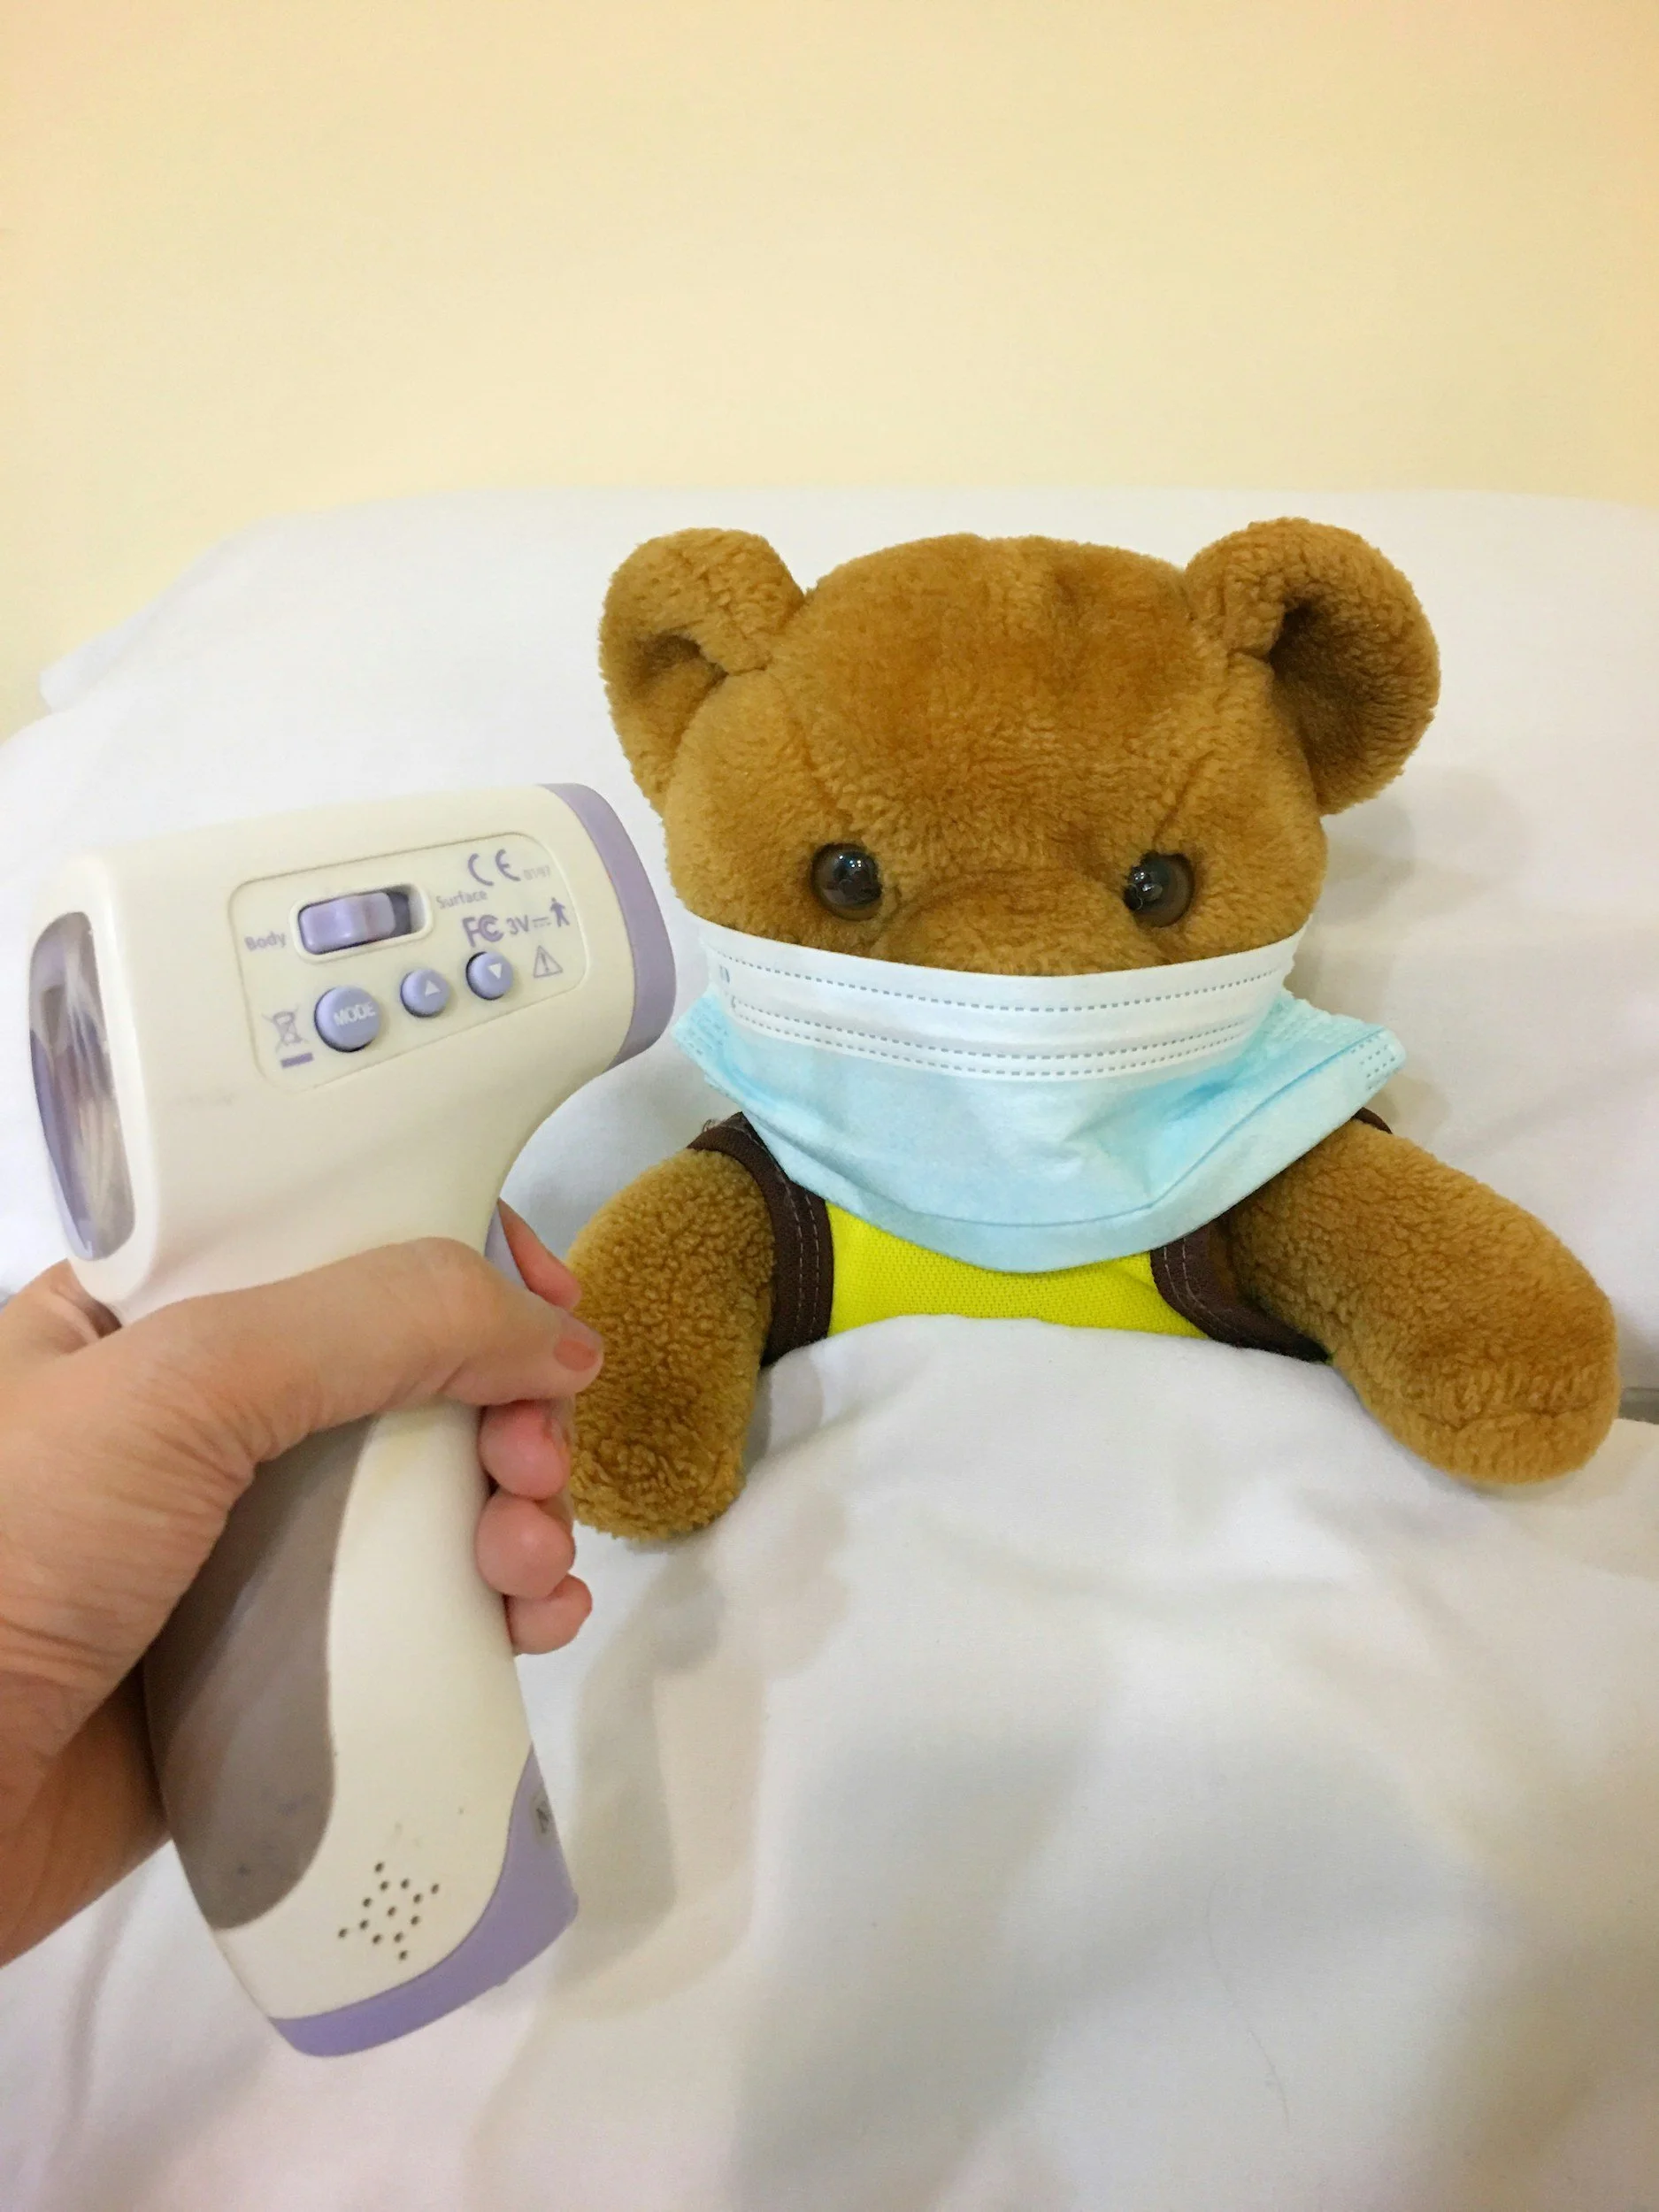
HEALTH & SAFETY: When to Keep Children Home: A Parent Guide to Illness Exclusion
It can be hard to know whether your child is well enough to attend care, especially when symptoms seem mild or they say they feel fine. However, keeping children home when they are unwell is one of the best ways to help them recover and prevent illness spreading to other children, educators and families.
As a general guide, children should stay home if they have a fever, vomiting, diarrhea, an unexplained rash, red or sticky eyes, ongoing coughing, trouble breathing or symptoms of a contagious illness such as gastro, influenza, COVID-19 or hand, foot and mouth disease.
Even if symptoms seem mild, children may still need to stay home if they are very tired, unsettled, not eating or drinking well, or need more one-on-one care and comfort than educators can reasonably provide in a busy environment.
A helpful question for families to ask is: “Can my child comfortably take part in the normal day?” If the answer is no, it is usually best to keep them home.
Common illnesses recommended exclusion periods:
Children should stay home for at least 24 hours after the last episode of vomiting or diarrhea. If norovirus is suspected or confirmed, many services require a 48-hour exclusion period after symptoms stop because it is highly contagious.
Children with conjunctivitis should remain home until discharge from the eyes has stopped unless a doctor confirms it is a non-infectious cause.
Children with hand, foot and mouth disease should stay home until all blisters have dried, any rash has settled and they are feeling well enough to participate in normal activities. This is usually around 5-7 days.
Children with chickenpox should remain home until all blisters have dried and crusted over, which is usually at least 5 days after the rash first appears in unimmunised children. Any remaining blisters should be completely dry before returning to care.
If your child becomes unwell during the day, you may be contacted to collect them. Having a back-up emergency contact available can make this much easier.
Keeping unwell children home is not only about protecting others. It also gives children the chance to rest, recover and return to care feeling happier, healthier and ready to participate in the day.
We understand that bouts of illness can be difficult to manage, and we really appreciate your support and understanding. By working together, we can help reduce the spread of illness and support a healthier winter season for everyone.
https://www.nhmrc.gov.au/about-us/publications/staying-healthy-guidelines
Bee Garden
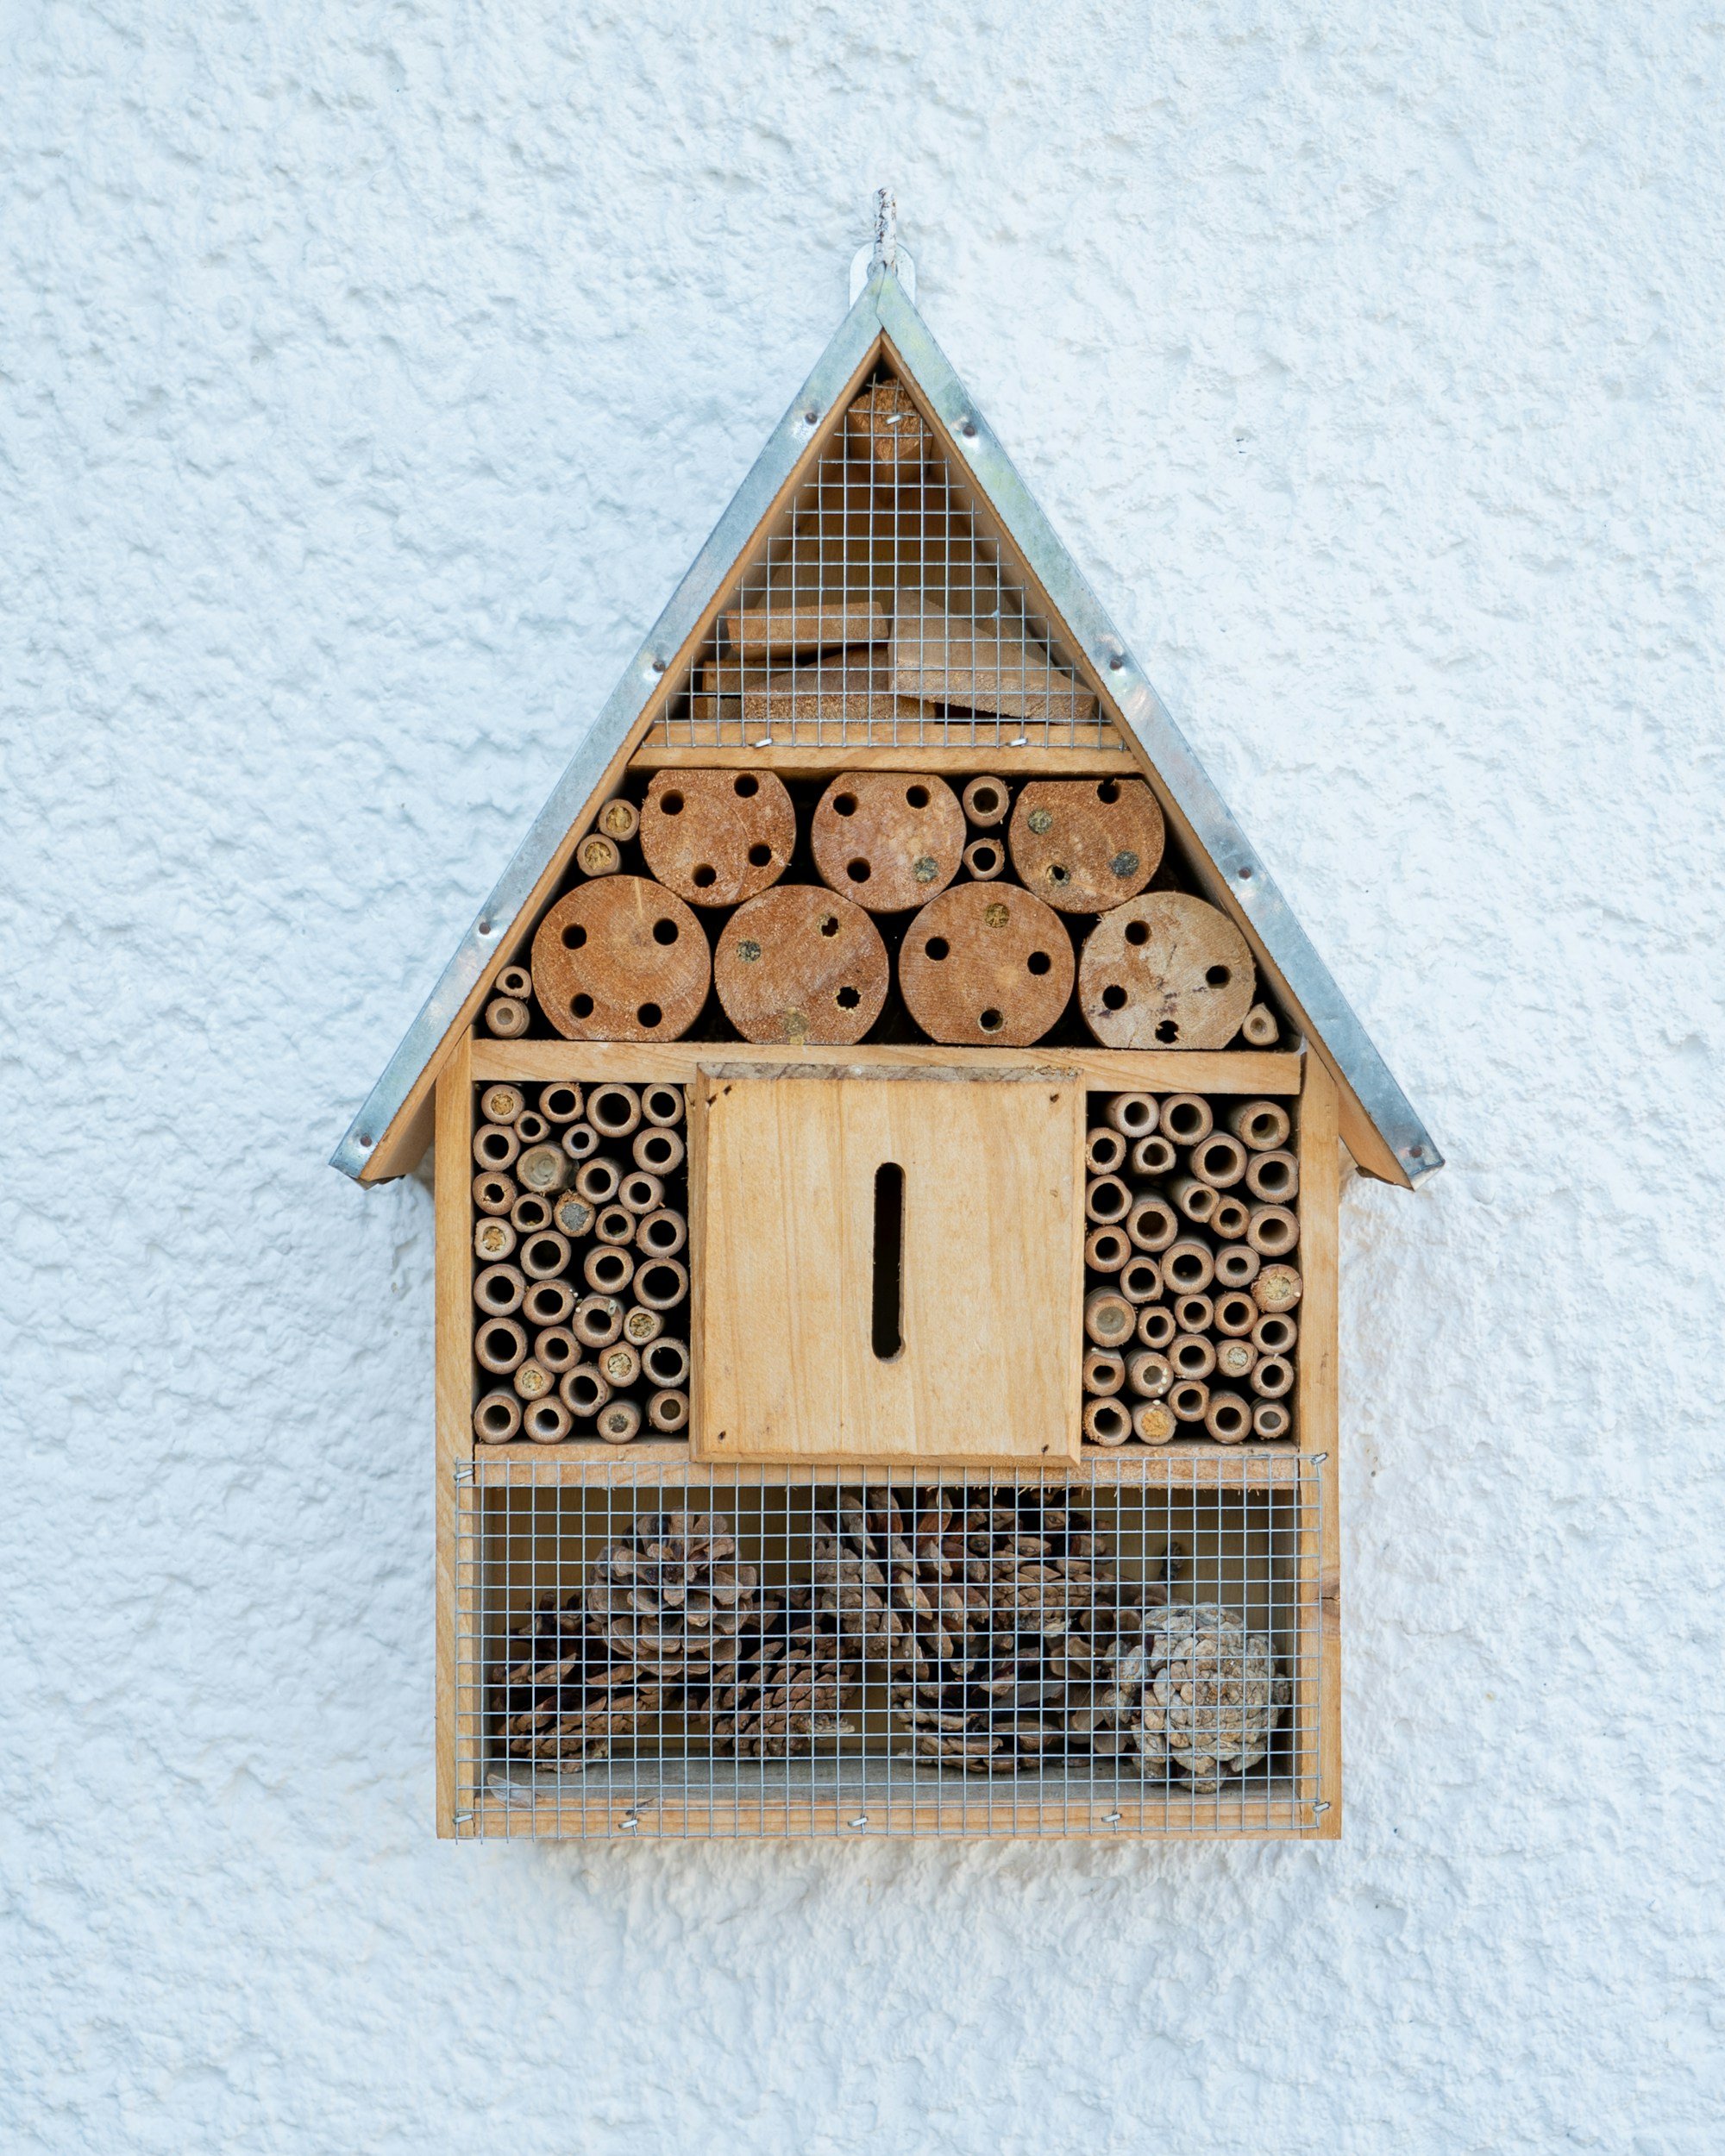
Bee Hotel
Educator of The Month

Huiling Tang
Congratulations to …
Huiling Tang
Box Hill North
Coordinator: Yan Zhang
Huiling is recognised for her outstanding dedication in creating a welcoming, inclusive, and inspiring learning environment across both indoor and outdoor settings. She thoughtfully supports children of different age groups and diverse cultural backgrounds, while meaningfully embedding Chinese language and cultural learning into her educational program.
Her creativity and commitment are evident in the diverse range of engaging learning experiences she provides, ensuring children remain actively involved and supported in their development. Huiling consistently demonstrates excellence in maintaining daily safety checks and strictly following policies and procedures related to food safety, excursion safety management, and overall compliance.
She has also built strong, trusting relationships with families through her professional, caring, and collaborative approach. Huiling’s ongoing commitment to high-quality education and care is truly commendable and greatly valued.
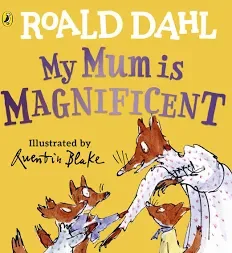
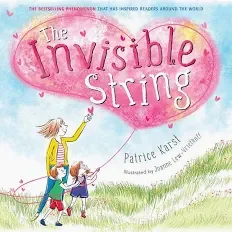
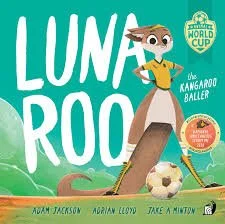
Books we Love
Our Top Picks


Buttons
Mother’s Day Gift Idea: Button Bracelets!
This one is nice and simple to make and these button bracelets look so sweet!
You will need:
Buttons
Coloured string or thread
What to do:
You can create a heartfelt, homemade gift that she'll cherish. Here's a simple guide to making button bracelets:
Gather Materials: You’ll need a selection of colorful buttons, elastic string or thin cord, scissors, and optional decorative beads to add a personal touch.
Cut the String: Measure and cut a piece of elastic string that is long enough to fit comfortably around your or your mother’s wrist, adding a couple of extra inches for tying.
Select Your Buttons: Choose buttons in varying sizes and colors for a playful, eye-catching design. You can even use buttons with sentimental value, like those from a favorite piece of clothing.
Thread the Buttons: Start threading the buttons onto the elastic string. To secure them in place, thread the string through two holes of the button, if available, or use a crisscross pattern for four-hole buttons.
Add Beads: For added flair, consider placing beads in between the buttons. This will add texture and a pop of color to the bracelet.
Finish the Bracelet: Once you’ve added enough buttons and beads to fit around the wrist, tie a secure knot in the elastic string. You may want to double or triple knot it to ensure it doesn’t come undone. Trim any excess string.
Test the Fit: Before gifting, try the bracelet on to ensure it fits well. Adjust as necessary by adding or removing buttons or beads.
Present the Gift: Place the bracelet in a small, decorated box or wrap it in tissue paper for an elegant touch.
This handmade button bracelet is a wonderful way to show your love and creativity, making Mother’s Day extra special.